Monday, September 28, 2026

Art Impressions and Simon Says Stamp Stamptember collaboration Pumpkin Queens!!

 Hello AI Fans!


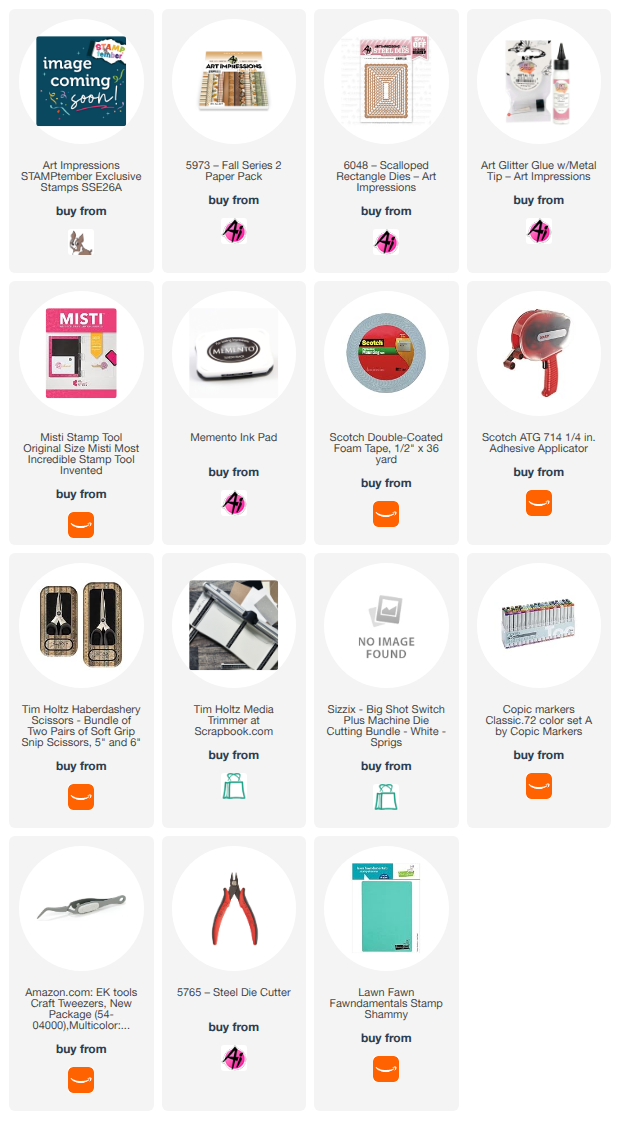
It's a super exciting time of the year for Art Impressions fans! Art Impressions created an exclusive set for Simon Says Stamp's famous Stamptember celebration and this year Bonnie outdid herself yet again!! I'm not sure how she does it, but holy cow!! This is definitely in my top favorites!! The only thing with this is that once they are gone, they are gone forever. So if you want it, do NOT hesitate to run over to Simon Says Stamp and get your own. I don't want you to miss out on this very special set. You can buy just the stamps or you can get the stamps along with the dies which is what I prefer. Just click HERE to purchase the stamp set only, or HERE to purchase the stamp and die set. Keep watching the blog as Renee will be posting all the AMAZING Design Team creations using this fantastic set! You are going to be blown away with all the gorgeousness!  So are you ready to see the new set? Here you go! 


Squeal!!! Isn't this just the most gorgeous Girlfriends stamp set ever??!! I honestly could not wait to get it stamped and colored. Perfect for sisters, besties, daughters, absolutely anyone and everyone! For the card I created I decided to go with an easel card. I just love the rich colors of fall, and I listed all the Copic markers I used below and the products are linked below as well. I hope the Design Team is able to inspire you with our many creations and that you are able to grab a set for yourself! 


I wanted to give the sweaters some texture, so I simply wadded up a piece of textured paper towel and dipped it into alcohol. Be sure it's just slightly damp with the alcohol or you'll ruin your coloring. LIGHTLY dab the paper towel over the piece of clothing you want to add texture to and voila! A small piece of washcloth will work well also. You can click on the picture to zoom in and take a closer look. 

So that's it for me today! As I said, Renee will be posting everyone's gorgeous creations here shortly! Thank you so much for stopping by today and until next time - stay crafty!!


list of Copic markers used

E000, 00, 04, 07, 09, 11, 13, 17, 21, 23, 25, 27, 50, 51, 53, 55, 57, 97, and 99

Y15, 17, 19, 26, 32, and 35

YR02, 04, 07, 12, 14, 16, 18, 20, 21, and 24

B00, 91, 93, and 95

C3 and 5

R20


Monday, September 21, 2026

A Halloween treat box featuring Art Impressions stamps and dies

 Hello AI Fans!

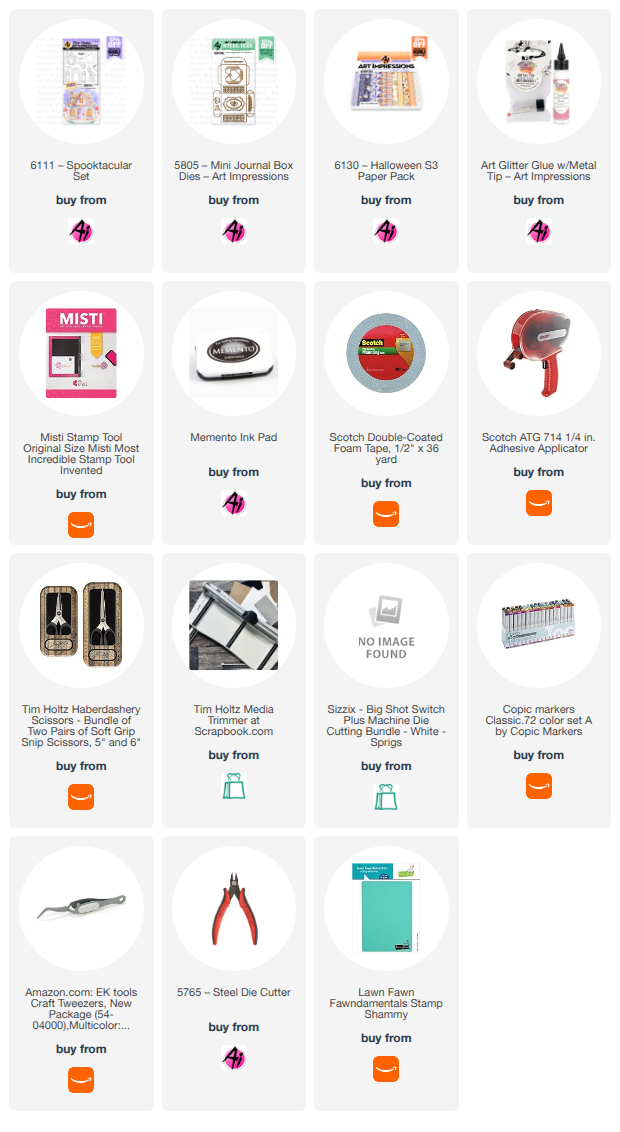
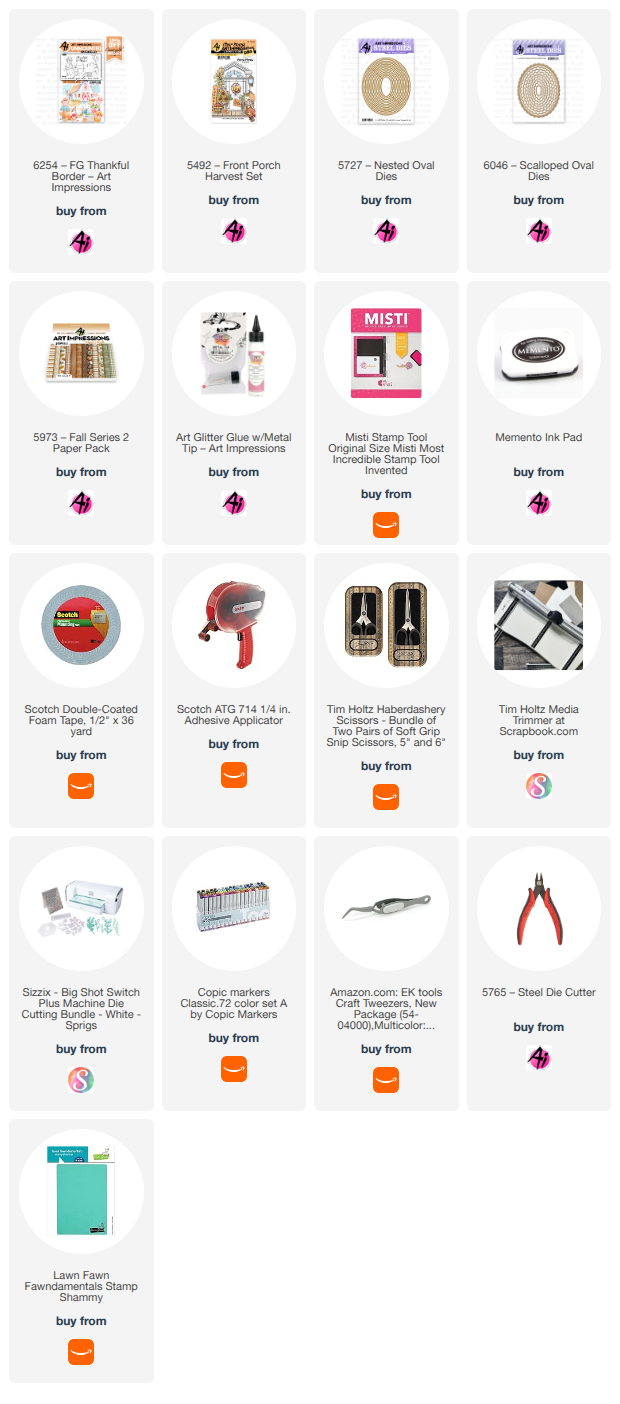
Happy Fall!!! (tomorrow LOL) I don't know about where you are, but it's clearly fall here in Reno. The leaves are changing and I can feel the difference in the air. The nights are getting pretty chilly dropping down into the 40's. I have always loved the weather in September. How about you? I love the colors of the changing leaves, but it makes me sad that the trees will soon be bare. So anyway, I have a cute little treat box tto show you that I made for Halloween. It's such a simple and easy little thing to do, but how cute does this dress up a Halloween treat?! To make it I just grabbed #5805 Mini Journal Box Die Set along with #6111 Spooktacular set. After stamping, coloring, and die cutting the window and frog, I cut out the box top so you could look through the window once it was placed on the box top. I thought the window fit the box perfectly (although I did have to put the shutters in just a smidge). I did stamp, color, and die cut two window frames so I could adhere the second one to the inside of the box. I just think it finishes it off nicely. When you open the box, you don't see a lot of raw die cut edges. That adorable paper is from #6130 Halloween S3 PP. 


So that's it for me today! Thanks so much for stopping by for a visit and until next time - stay crafty!!

Copic markers used:

YG01, 03, and 05

R20

V04, 06, and 09

E33, 35, 40, 41, 42, and 44


Monday, September 14, 2026

Live life in full bloom featuring Art Impressions

Hello AI Fans!

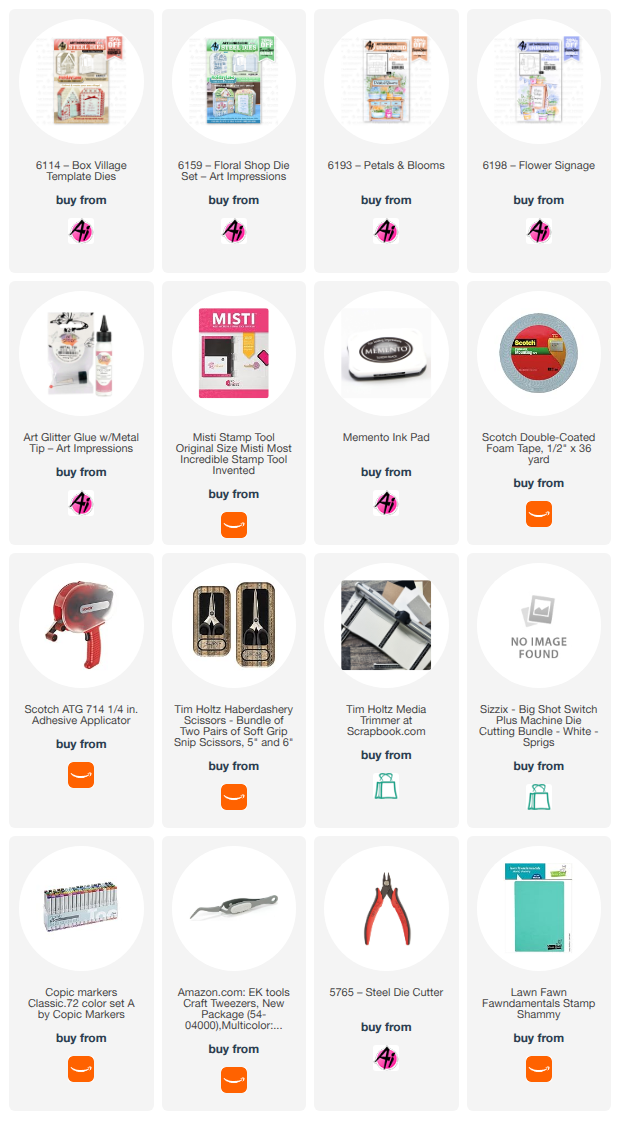
I've got a couple more pages from a booklet I made using Art Impressions #6114 Box Village Template Set along with the #6159 Floral Shop Die Set. These two pages were done using #6193 Petals and Blooms and #6198 Flower Signage stamp sets.  I also used various sentiments from several Art Impressions sets. I will admit I wasn't sure how these would turn out using Copic markers instead of watercoloring them, but I really do like the final product! It's just a totally different look, but I like it! 


So that's it for met today! Thanks so much for stopping by for a visit today and until next time - stay crafty!!


Monday, September 7, 2026

If my mouth doesn't say it....featuring Art Impressions

 Hello AI Fans!

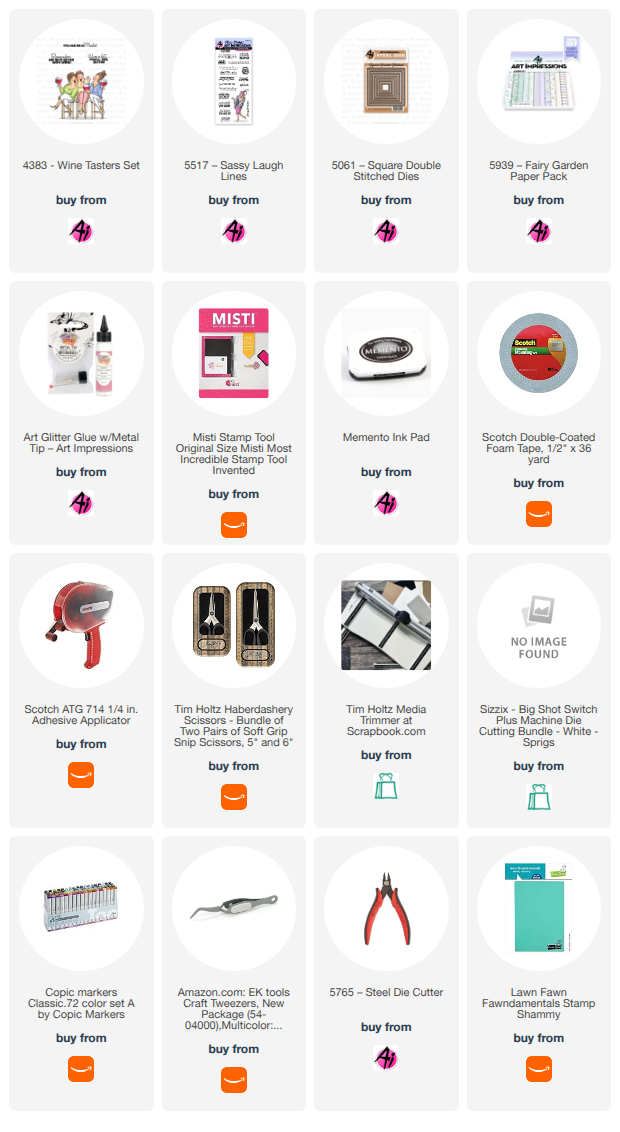
Ok, all the fans of Art Impressions clever and funny stamps and sentiments please raise your hands!! (I raised both of mine) LOL!  Art Impressions people stamps have always been my favorite and probably always will be! And I love how you can pair up just about any sentiment with just about any stamp. That's what I've got to show you today. I took #4383 Wine Tasters Set from the Girlfriends line and paired it with a sentiment from #5517 Sassy Laugh Lines, and I love how it turned out. I stamped image onto a Copic friendly cardstock and then colored them with my Copic makers. I did this ages ago and can't find my list of colors I used, so my apologies I can't list them for you today. I die cut them out using #5061 Square double stitched dies and paired it paper from #5939 Fairy Garden PP. 


So that's it for me today! Thanks so much for stopping by for a visit and until next time - stay crafty!


Monday, August 31, 2026

Thinking of Home Storybook stamp and die set from Art Impressions

 Hello AI Fans!

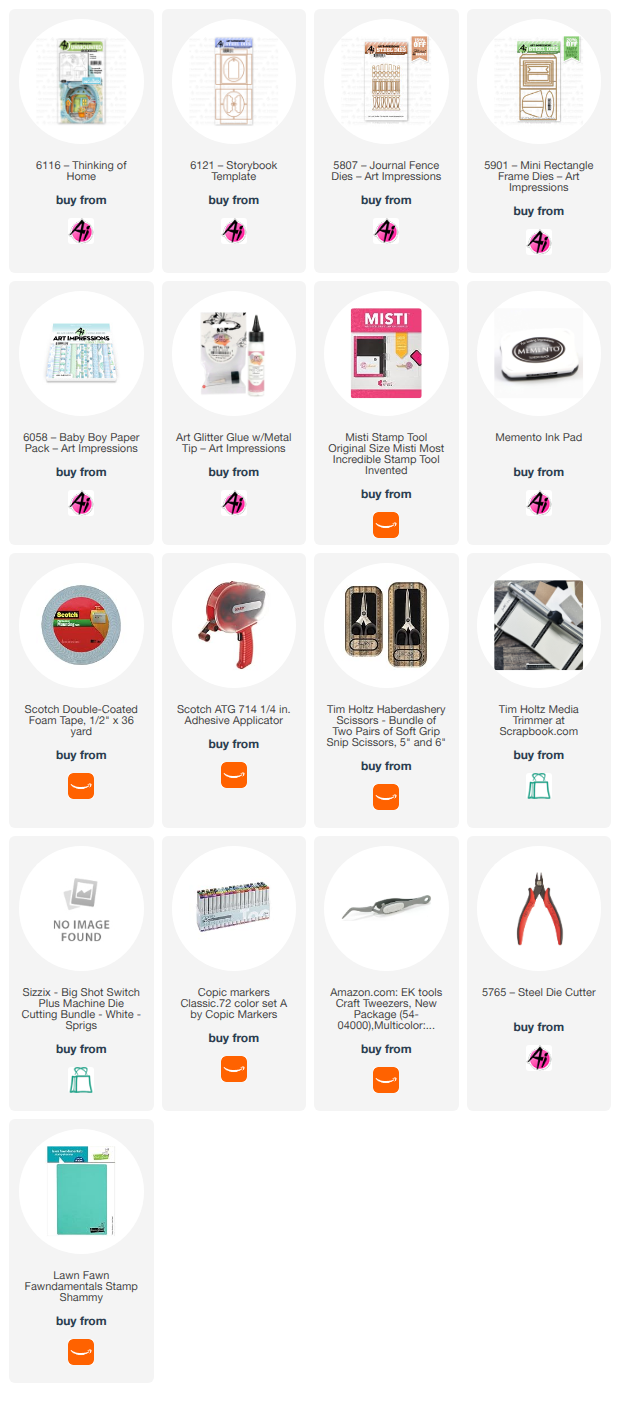
I don't have a card for you today. Instead I created a little box that would be so cute to tuck into a small corner of a shelf in your home. All you have to do is change up the colors that would complement your decor! I used the new #6116 Thinking of Home Storybook stamp and die set just released by Art Impressions! It's perfect for a decoration around your home, or imagine how cute it would be to gift it to someone that is moving into a new house or apartment? For the base, I used #6121 Storybook Box Template. These pieces are so easy to put together once you stamp, color, and die cut the pieces! I stamped the images onto a Copic friendly cardstock and then colored and die cut them out. I added a fence die cut with #5807 Journal Fence Dies and then I cut out an easel stand for the back out of heavy cardstock using #5901 Mini Rectangle Frame die set. The grass and clouds were cut from dies in my stash. That cute cloud paper came from #6058 Baby Boy PP.  That cute sleeping kitty helps this fit our current challenge #435 Furry Friends too! 


So that's it for me today! I hope this inspires you to join in on our Furry Friends challenge! Thanks so much for stopping by for a visit and until next time - stay crafty. 


Monday, August 24, 2026

Whimsical Storybook featuring Art Impressions

 Hello AI Fans!

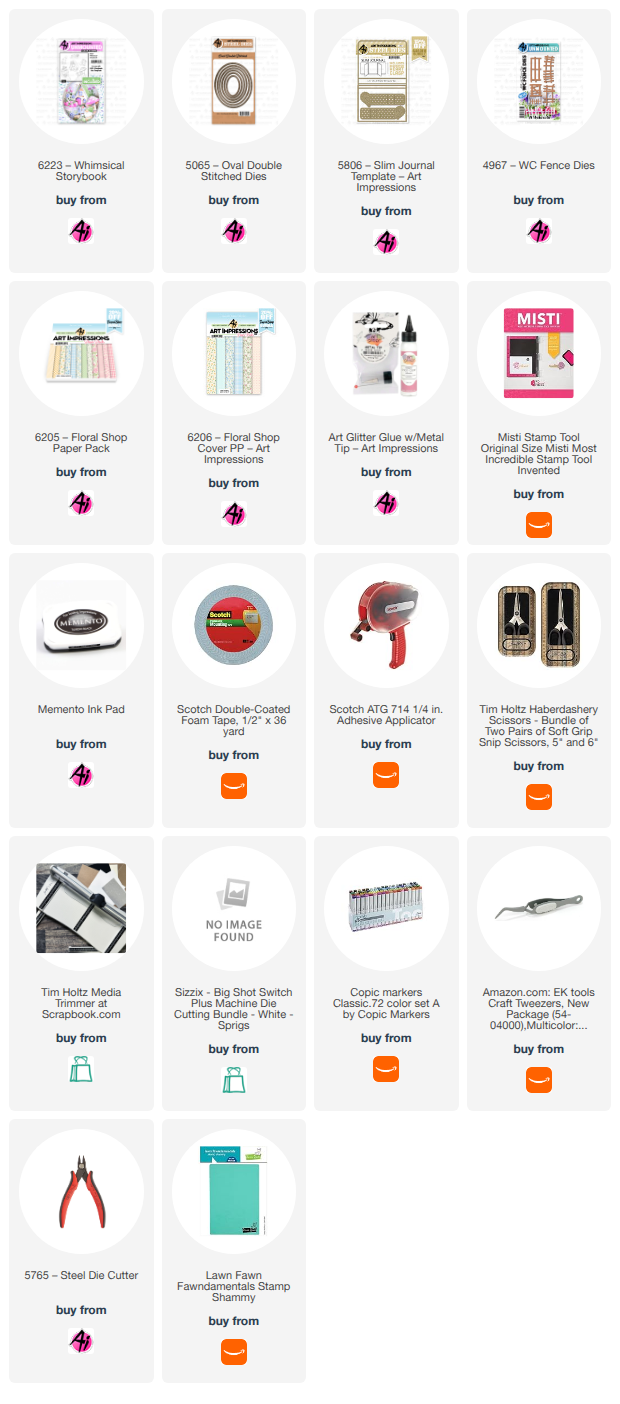
Art Impressions just released two brand new sets for the Storybook Line and I'm in love with both of them! They are soooo cute and perfect for little pieces of decor to place around the house. My post today shows you the project I created using #Whimsical Storybook. I wanted this one to actually be like a little book where you could flip the pages, so instead of using #6121 Storybook Template, I grabbed #5806 Slim Journal Template. The slim journal is perfect for doing so many different types of projects!! I stamped all the images from #6223 Whimsical Storybook Set onto a Copic friendly paper using Memento ink. The colors I used are listed below this post. After coloring and die cutting them all out, I set out to create a home for them. 


I die cut the slim journal out of cardstock and then added paper from #6205 Floral Shop PP. To make the frame around the center cutouts, I taped together two dies from #5065 Oval Double Stitched Dies and cut enough for all the pages of the journal. I thought the size of the fence from #4967 WC Fence Dies was perfect for this project!  Here's a look at the inside layers of my project. 


I added a few layers of clouds for fun. 


There's plenty of room to sign this I want to give it away as a card to someone! 


And one last look at the finished piece. 


So that's it for me today! Thanks so much for stopping by for a visit and I hope I was able to inspire you to get and use the brand new Whimsical Storybook Set #6223. Until next time - stay crafty!!


Copic markers used:

E000, 00, 11, 17, 31, 33, 35, 40, 41, 42, 43, 44, 51, 53, 55, and 57
YR20, 21, 23, 24, and 27
YG01, 03, and 05
V25 and 28
Y13, 15, and 19
G000, 82, and 85
B000 and 01
W0 and 2
C0, 1, 2, 3, 4 5, 6, and 7
R00, 20, 22, 24, and 27


Monday, August 17, 2026

New Art Impressions Corner Bird Bookmarks

 Hello AI Fans!!

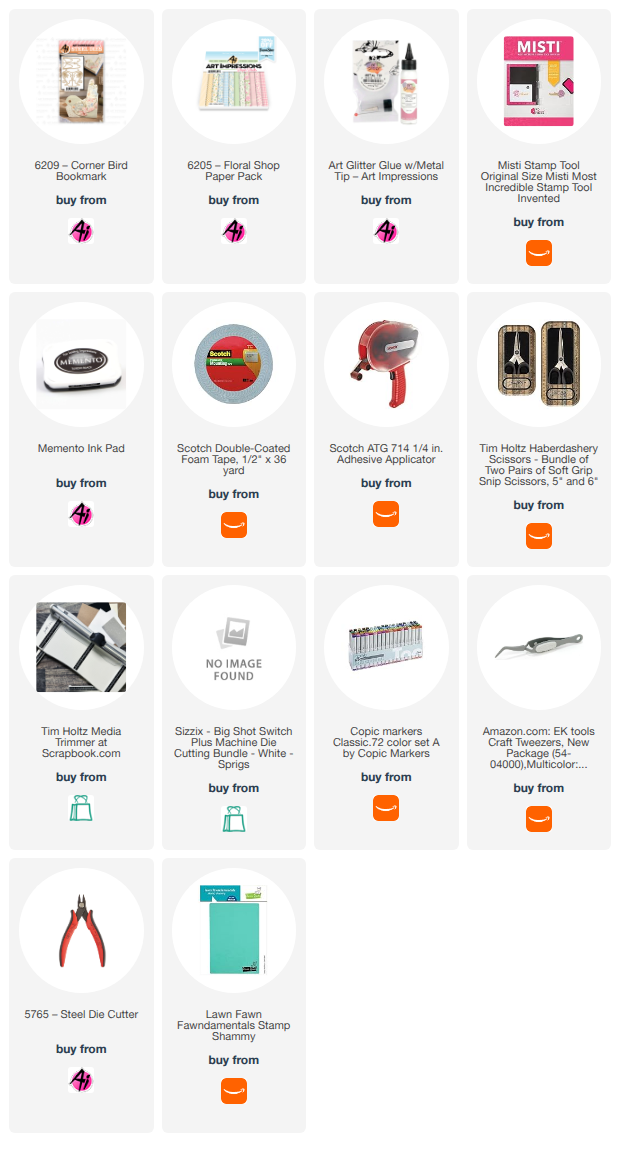
So who thinks like I do and believes you can never have too many bookmarks! They're awesome to have for yourself and so wonderful as gifts too! Imagine including one or more inside an envelope with a gift certificate to Barnes and Noble! How fun would that be! So for my post today, I created two bookmarks using #6209 Corner Bird Bookmark from Art Impressions. I created two of them using the same beautiful paper from #6205 Floral Shop PP. The only difference was I used some distress ink around the edges on one of them. I just love these adorable birds!!! 


So that's it for me today! Thanks so much for stopping by for a visit and until next time - stay crafty!


Monday, August 10, 2026

His mercies bookmark featuring Art Impressions

 Hello AI Fans!


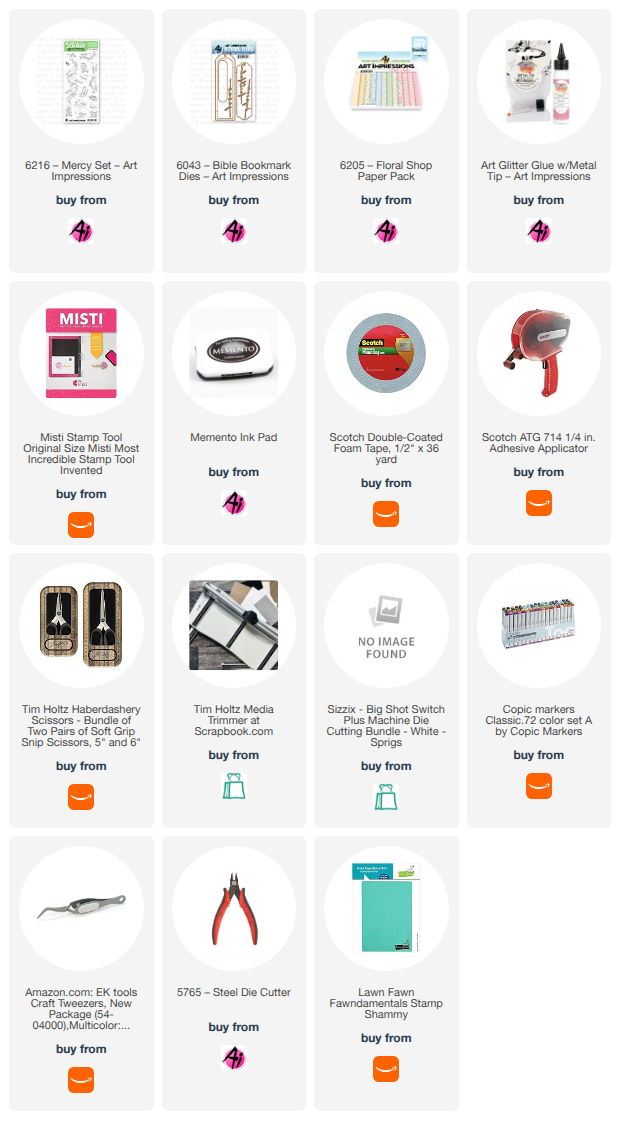
If you haven't purchased the new #6216 Mercy Set from Art Impressions yet, what are you waiting for? This set is so gorgeous and has beautiful sentiments too! For this bookmark I used #6043 Bible Bookmark Dies. After die cutting the white portion, I centered the two bird stamps with the sentiment in the middle of the bookmark with my Misti stamp platform. That made it super easy to line them all up and stamp them without worry that I could stamp them in the exact same place if needed (and of course I needed). I stamped them using Memento Tuxedo Black ink so I could color them with Copic markers. I'm sorry I forgot to write down the colors I used. After coloring them, I simply adhered it to the Bookmark base that I cut using #6205 Floral Shop PP and added a ribbon. I ended up with an amazingly quick gift that I would be proud to give to anyone! And who doesn't need more bookmarks?? This would also qualify for the current challenge Floral Frenzy!! I hope you're entering with your fabulous creations! 


So that's it for me today! Thanks so much for stopping by for a visit and until next time - stay crafty!


Monday, August 3, 2026

I'll always be here for you featuring Art Impressions

 Hello AI Fans!

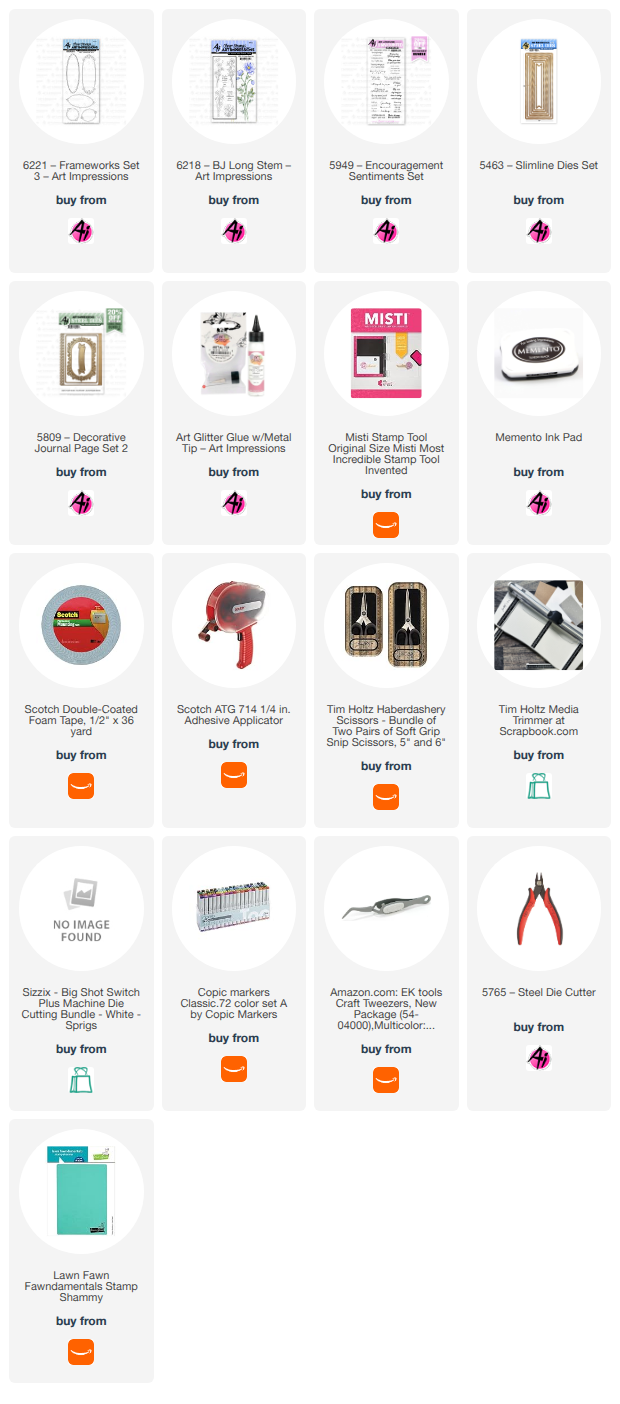
My card today features a couple of new releases by Art Impressions, #6221 Frameworks Set 3 & #6218 BJ Long Stem flowers. I have always loved daffodils (maybe because they're yellow?? LOL), so I was excited to see these! I thing the flowers fit beautifully inside the new frames, so they're a perfect match in my book! I stamped them onto a Copic friendly cardstock using Memento Tuxedo Black ink and then colored them up. I used one of the slimline dies to die cut it as I love the stitched edges. For the sentiment, I used the beautiful banner from the Decorate Journal Page 2 set. 

That's it for me today! Thanks so much for stopping by for a visit and until next time - stay crafty!


Monday, July 27, 2026

A small gift card featuring Art Impressions

 Hello AI Fans!

Today I have a small gift card to show you that I created using the new  #6230 Mini Decorative Bookmark Sets. It's not just for bookmarks! I think this is the perfect little card to attach to any gift! It's so quick to decorate and I think it adds a great accent piece! Just cut your card piece out of any pattern paper, or you can use white and just layer pattern paper on top. I grabbed this sweet lamb from #6103 Baby Keepsake Set as well as the sentiment. He's stamped onto a Copic friendly paper and colored up with a few grey pens. It just doesn't get any easier cause the dies to cut him out come in the set as well. I also created my own envelope and added some layered hearts from #5721 Nested Heart Dies and a bow to top it off. So quick and easy!!! 


So that's it for me today! Thanks so much for stopping by or a visit and until next time - stay crafty!!


Monday, July 20, 2026

Boo! A Summerween card featuring Art Impressions

 Hello AI Fans!

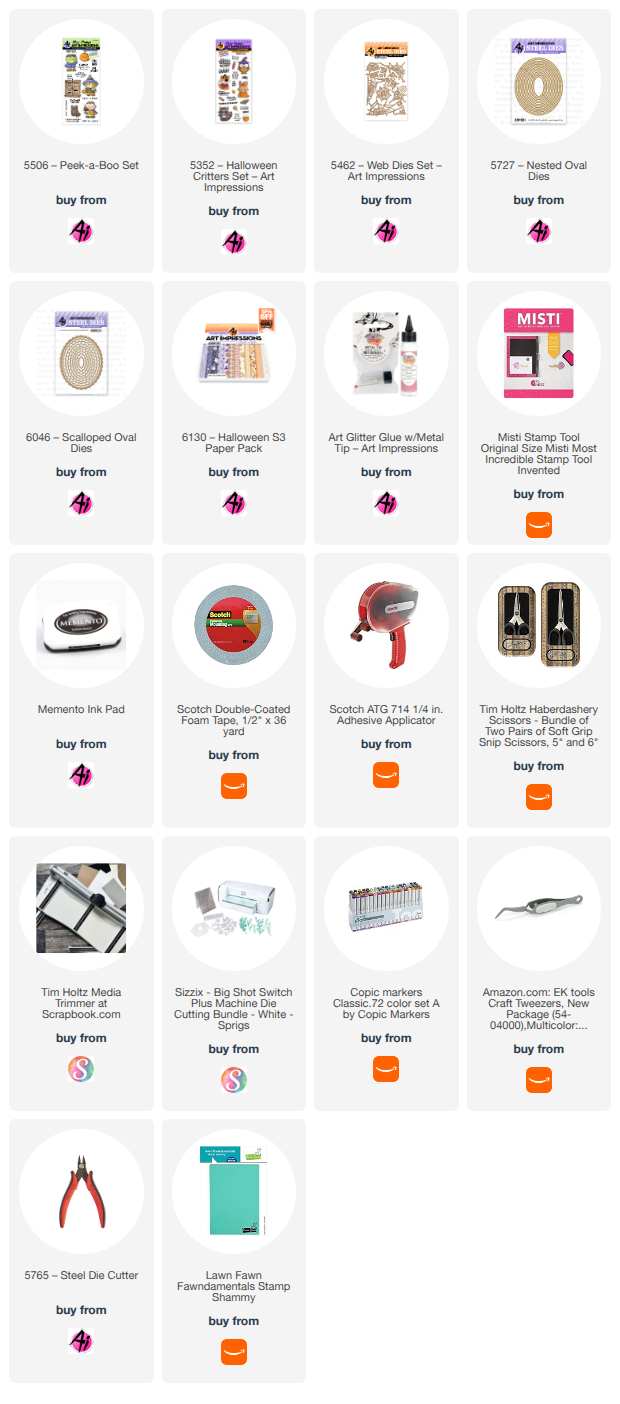
Our new challenge has started and it's all about Halloween during the summer - Summerween!! How fun is that??!!  I used a few different sets to create a fun slider card where that little ghost swoops down to scare you and Dracula! LOL! Slider cards are so easy to make! I save the slot I cut out from the card front, and then line it up and glue it to the back piece. I feel that helps the slot blend into the background. I chose various images from the sets #5816 Mini Halloween Twister Set (the ghost was the perfect size to fly through the air, #6111 Spooktacular Set, and #5506 Peek-a-boo Set. I stamped them with Memento ink and colored them with Copic markers listed below. 


So that's it for me today! Thanks so much for stopping by for a visit and I hope you join in on the Summerween Challenge for a chance to win a free set!! Just click HERE to be directed to the current challenge. Until next time - stay crafty!!!


Monday, July 13, 2026

Tiered wiper card featuring Art Impressions stamps and dies

 Hello AI Fans!

Our current challenge right now is Christmas in July! It's such a great chance to get a jump start on your holiday cards. Whether it's designing it if you make the same card for everyone, or just adding to your stash if you create different cards for everyone, it's a great way to get started! I just recently saw a video by Sam Calcott on how to create a tiered wiper card, and I immediately thought of how cute it would be for a Christmas card! You don't need any specialty dies and once you get the mechanism down, it's rather easy to put it together! I would suggest making one from scrap paper first, just to get the idea of how to put it all together. I took a video of it to try and show it in action, but I'm just having a heck of a time trying to post my videos lately. I'll keep working on that, but in the meantime, I guess pictures will have to suffice. Plus you'll be able to see it in action on Sam's video. :)  I started by stamping off three of the large gnomes from #578/5 Gnomes Set. I didn't want them to be the same so I used different colors and tried to make their beards look different as well. For the front, I used the adorable Santa from #5775 FB Santa, coloring and using only the front facing stamp. After coloring him and die cutting him out, I mounted him on a mat created using #6048 Scalloped rectangle dies. This card comes to life when you pull the top section of the card to the right, so I created a pull tab by grabbing the one from #5718 Mini Journal Template. I have a little stamp set in my stash that has a variation of action words, so I used the stamp "pull" on the tab. For the sentiment, I used the banner from #5809 Decorative Journal Page 2 ( I used this banner a LOT) and grabbed an old sentiment that I've cut apart from #SC0803, an old retired Santa Pop Up set. I just used two of them to create the sentiment on the front of the card. 


When you pull the top card layer to the right, a gnome pops out from behind the top panel to surprise you! I took a word bubble from my stash and die cut three H's and three O's from #5562 Journal Letter Die Set using red cardstock.  After gluing the HO letters onto the word bubble, I used a small piece of acetate to attach the word bubble to the back of each gnome. 


Keep pulling to the right and the next gnome pops out...


And finally the third. I finished the card by die cutting a variety of snowflakes out of glitter paper using #5353 Large Snowflake Dies. 


This was such a fun card to make, and I hope you're joining our challenge for a chance to win a free set of your choice from Art Impressions! Thanks so much for stopping by for a visit today, and until next time - stay crafty!!

Copic markers used:
E000, 00, 11, 33, and 35
R20, 22, 24, and 27
C0, 1, 3, 4, 5, and 6
T1
G82 and 85
Y32, 35, and 38