Monday, July 27, 2026

A small gift card featuring Art Impressions

 Hello AI Fans!

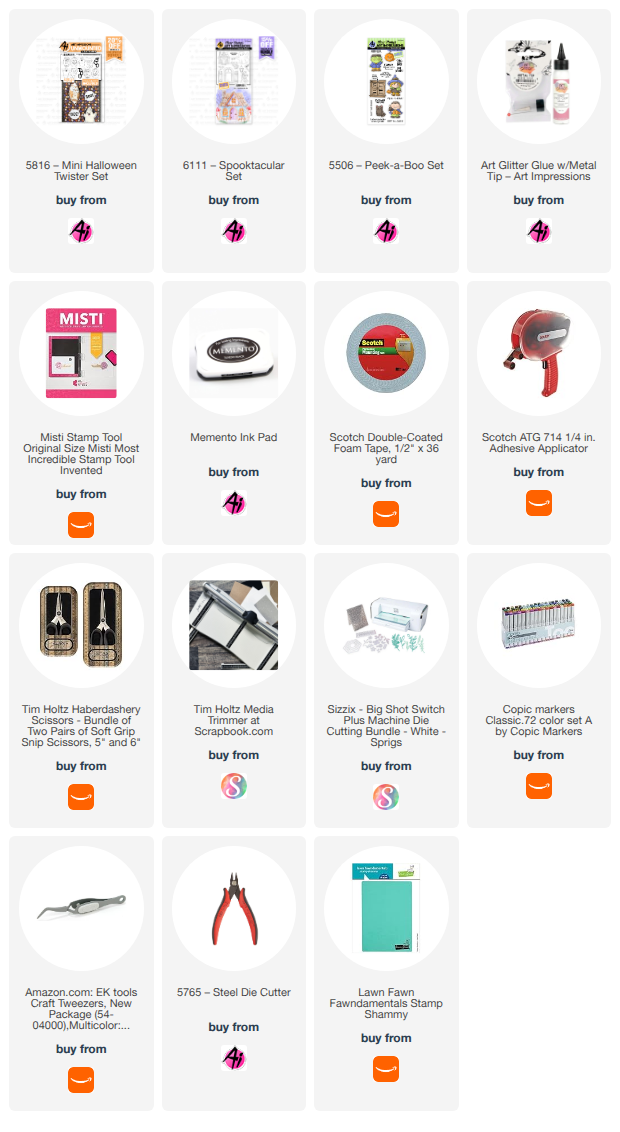
Today I have a small gift card to show you that I created using the new  #6230 Mini Decorative Bookmark Sets. It's not just for bookmarks! I think this is the perfect little card to attach to any gift! It's so quick to decorate and I think it adds a great accent piece! Just cut your card piece out of any pattern paper, or you can use white and just layer pattern paper on top. I grabbed this sweet lamb from #6103 Baby Keepsake Set as well as the sentiment. He's stamped onto a Copic friendly paper and colored up with a few grey pens. It just doesn't get any easier cause the dies to cut him out come in the set as well. I also created my own envelope and added some layered hearts from #5721 Nested Heart Dies and a bow to top it off. So quick and easy!!! 


So that's it for me today! Thanks so much for stopping by or a visit and until next time - stay crafty!!


Monday, July 20, 2026

Boo! A Summerween card featuring Art Impressions

 Hello AI Fans!

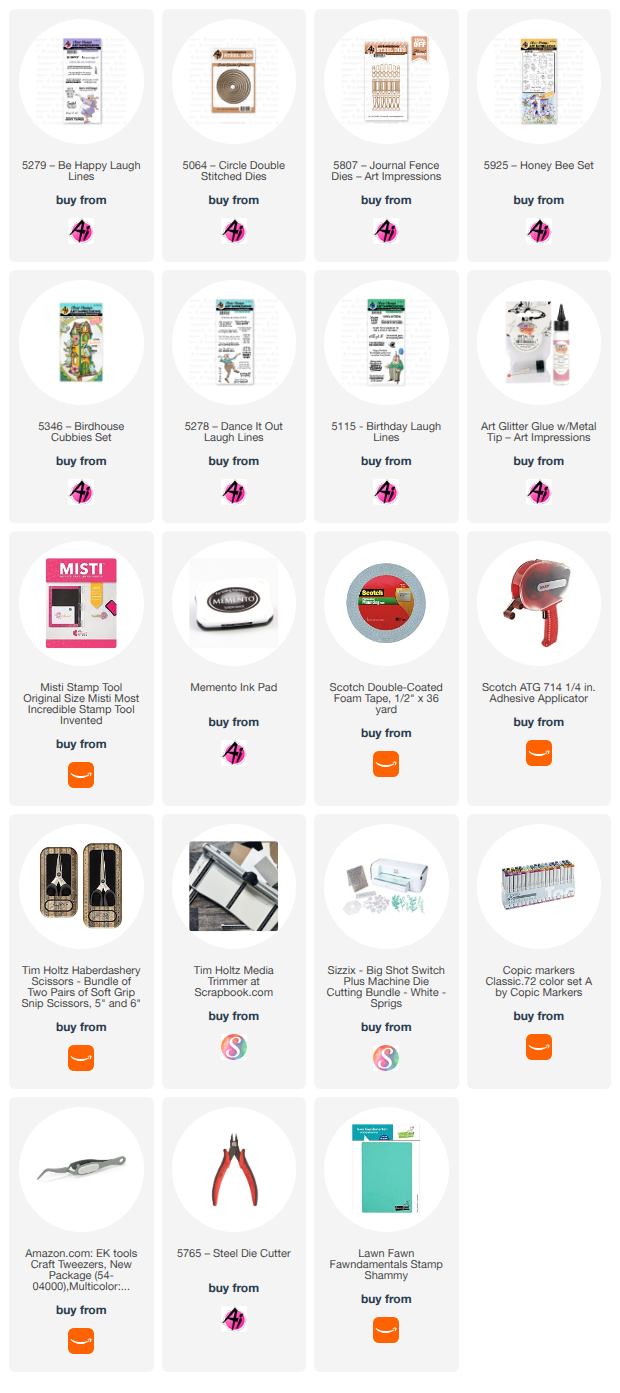
Our new challenge has started and it's all about Halloween during the summer - Summerween!! How fun is that??!!  I used a few different sets to create a fun slider card where that little ghost swoops down to scare you and Dracula! LOL! Slider cards are so easy to make! I save the slot I cut out from the card front, and then line it up and glue it to the back piece. I feel that helps the slot blend into the background. I chose various images from the sets #5816 Mini Halloween Twister Set (the ghost was the perfect size to fly through the air, #6111 Spooktacular Set, and #5506 Peek-a-boo Set. I stamped them with Memento ink and colored them with Copic markers listed below. 


So that's it for me today! Thanks so much for stopping by for a visit and I hope you join in on the Summerween Challenge for a chance to win a free set!! Just click HERE to be directed to the current challenge. Until next time - stay crafty!!!


Monday, July 13, 2026

Tiered wiper card featuring Art Impressions stamps and dies

 Hello AI Fans!

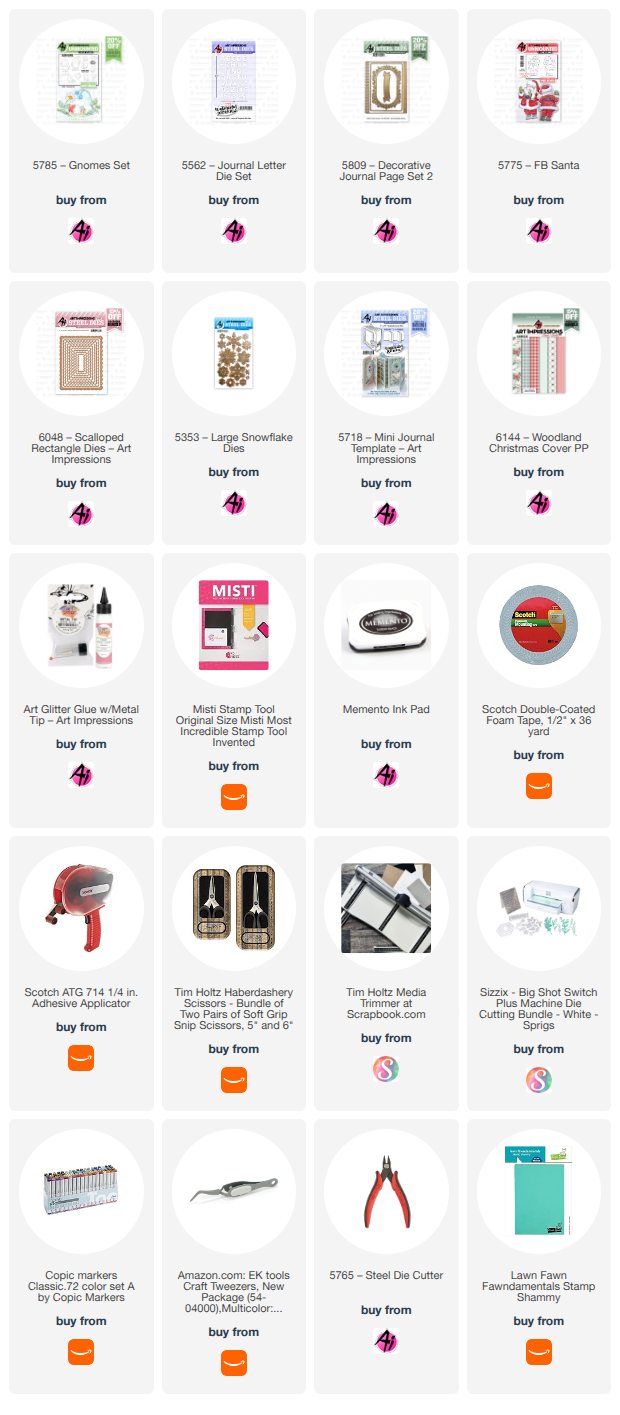
Our current challenge right now is Christmas in July! It's such a great chance to get a jump start on your holiday cards. Whether it's designing it if you make the same card for everyone, or just adding to your stash if you create different cards for everyone, it's a great way to get started! I just recently saw a video by Sam Calcott on how to create a tiered wiper card, and I immediately thought of how cute it would be for a Christmas card! You don't need any specialty dies and once you get the mechanism down, it's rather easy to put it together! I would suggest making one from scrap paper first, just to get the idea of how to put it all together. I took a video of it to try and show it in action, but I'm just having a heck of a time trying to post my videos lately. I'll keep working on that, but in the meantime, I guess pictures will have to suffice. Plus you'll be able to see it in action on Sam's video. :)  I started by stamping off three of the large gnomes from #578/5 Gnomes Set. I didn't want them to be the same so I used different colors and tried to make their beards look different as well. For the front, I used the adorable Santa from #5775 FB Santa, coloring and using only the front facing stamp. After coloring him and die cutting him out, I mounted him on a mat created using #6048 Scalloped rectangle dies. This card comes to life when you pull the top section of the card to the right, so I created a pull tab by grabbing the one from #5718 Mini Journal Template. I have a little stamp set in my stash that has a variation of action words, so I used the stamp "pull" on the tab. For the sentiment, I used the banner from #5809 Decorative Journal Page 2 ( I used this banner a LOT) and grabbed an old sentiment that I've cut apart from #SC0803, an old retired Santa Pop Up set. I just used two of them to create the sentiment on the front of the card. 


When you pull the top card layer to the right, a gnome pops out from behind the top panel to surprise you! I took a word bubble from my stash and die cut three H's and three O's from #5562 Journal Letter Die Set using red cardstock.  After gluing the HO letters onto the word bubble, I used a small piece of acetate to attach the word bubble to the back of each gnome. 


Keep pulling to the right and the next gnome pops out...


And finally the third. I finished the card by die cutting a variety of snowflakes out of glitter paper using #5353 Large Snowflake Dies. 


This was such a fun card to make, and I hope you're joining our challenge for a chance to win a free set of your choice from Art Impressions! Thanks so much for stopping by for a visit today, and until next time - stay crafty!!

Copic markers used:
E000, 00, 11, 33, and 35
R20, 22, 24, and 27
C0, 1, 3, 4, 5, and 6
T1
G82 and 85
Y32, 35, and 38



Monday, July 6, 2026

Get your happy on featuring Art Impressions

 Hello AI Fans!

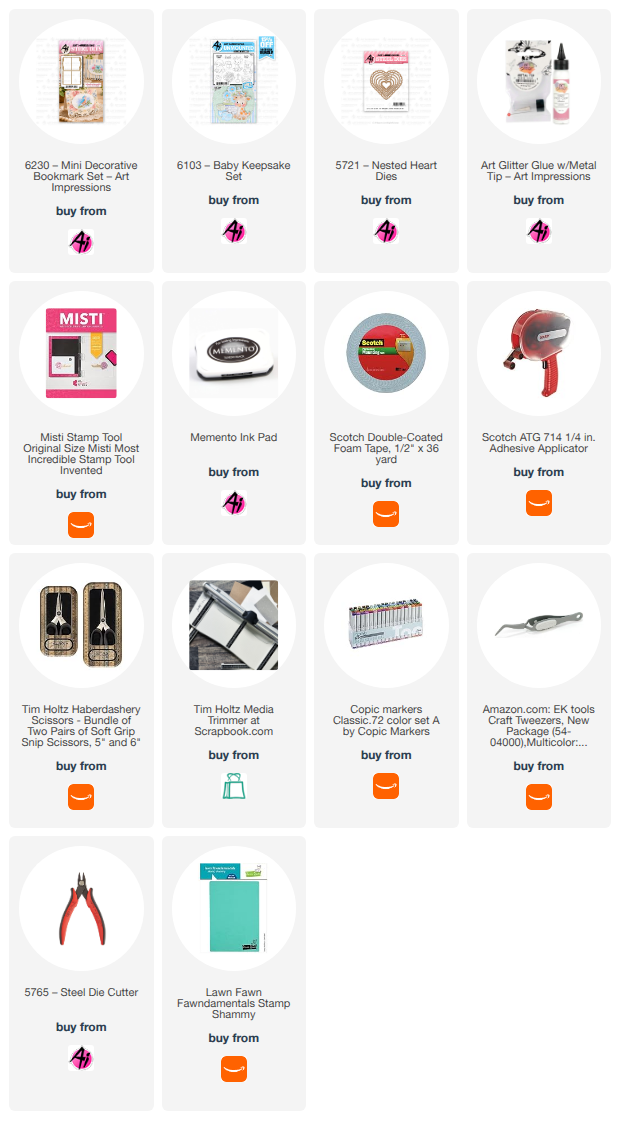
Hope you had a wonderful and safe 4th of July weekend if you're in the states and celebrated! I've got a fun card to show you today! Have you ever jumped on a trampoline? Well this lady is out having the time of her life helping someone celebrate their birthday! Watch a clip of the video below to see her in action! It's so much fun watching her jump around! I started by stamping #5279 Be Happy Laugh Lines onto a Copic friendly paper and fussy cutting her out after coloring her. I found this video on how to make the mechanism to make her jump. It's really pretty easy and you don't need any special dies to make it! 


The sentiment get your happy on is also from the same stamp set #5279 Be Happy Laugh Lines. The bird is from #5346 Birdhouse Cubbies Set, the flowers from #5925 Honey Bee Set, and the fence from #5807 Journal Fence Dies. I just clipped off one fence post from the die as it was just a little too wide for what I needed. The other pieces just came from my stash. 


For the inside sentiments I used #5278 Dance it out Set and #5115 Birthday Laugh Lines for the two different sentiments. 


So that's it for me today! Thanks so much for stopping by for a visit and until next time - stay crafty!!