Hello AI Fans!
We have a new challenge that started last Thursday and it's to make a 3D card or project. I love anything popped up or 3D, so I definitely had fun with this one! I had seen a fancy fold card called a stadium wave pop up card and knew I was going to use it for this challenge. If you do a search on You Tube, you will find several free videos on how to create this, and I also added a link in my post below. I did my own size as I didn't want a huge card, so I will give you the measurements of what I did. They really are not difficult to make at all, but boy what a presentation it gives! So real quick, let me show you a video of the card, then I'll explain how I made it.
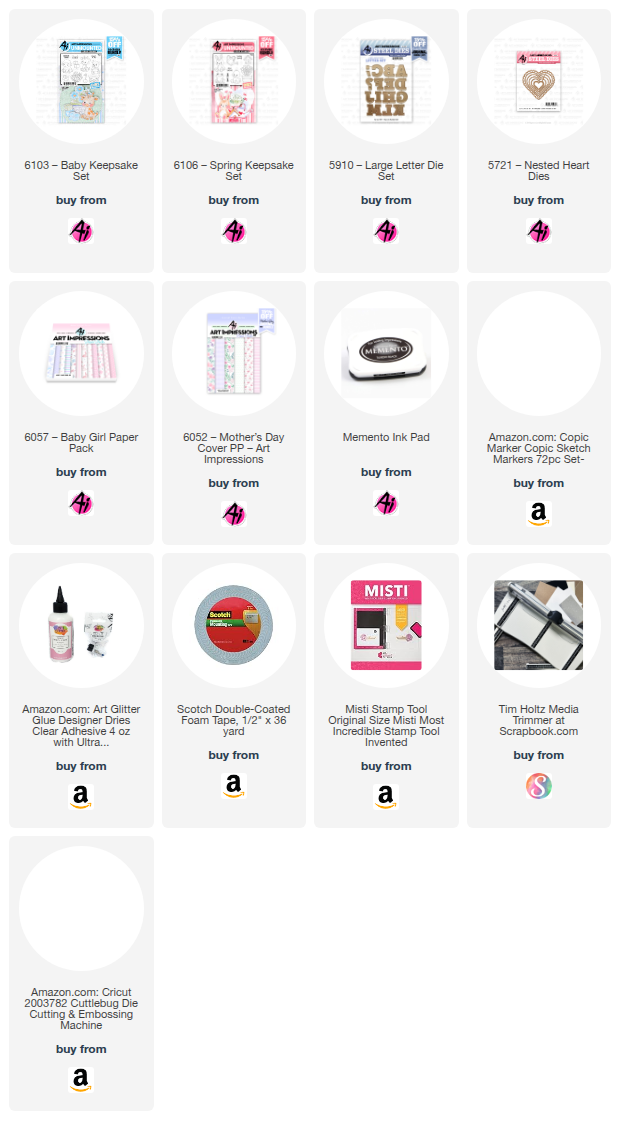
So to begin with, I cut my card base to create a 5 1/2" square card and added my layered mats to it including the front and inside. The pattern paper used is from #6052 Mother's Day Cover PP and #6057 Baby Girl PP. I then created the strips for the inside. You need a total of eight of these strips. so I needed two pieces of the paper from the cover pack. I cut one full piece to measure 6" x 8", then took another piece and cut it to measure 2" x 8". With the 8" side along the top of your score board,
score at 3", 6", 6 3/4", and 7 1/2".
Do this to both the 6" piece and the 2". You will then turn the paper and cut it in one inch strips which will give you a total of eight 1" x 8" strips that are scored at the measurements above. Fold and burnish your strips, then add glue to the 1/2" edge of the strip and attach it to the other end so that the strip ends up looking similar to a long heart. Here is a link to an instructional video. Just remember that mine is a different size.
https://youtu.be/Lj7C2RltYB0
I really wanted to make a baby card with it, so I used #6106 Spring Keepsake Set and #6103 Baby Keepsake Set for the adorable little animals they both have. To spell out the word BABY, I then used #5910 Large Letter Die Set and cut them each out with pattern paper and then the lavender cardstock so I could offset the letters a smidge to help them stand out better. I stamped, colored, and cut a LOT of beautiful daisies from Baby Keepsake Set. And now that I am typing this post, I don't know why I didn't think of adding some adorable pieces using #5338 Baby Mini Dies! DOH!!! Maybe if you make one of these, you will use them to help decorate! For the card front, I added a large heart from #5721 Nested Heart Dies along with that adorable frog, then scattered some open hearts from the same die set. After adding a sweet bow, the front was finished.


Making my strips shorter than what is stated on the instructional video gave me more room to add a sentiment panel for your message and signature. But it did not take away from the "wow" factor when the card is opened.
So that's it for me today! I sure hope I was able to inspire you a little with creating a 3D project for our new challenge. You never know when you might win a free set of your choice! Thank you so much for stopping by for a visit and until next time - stay crafty!!
Copic markers used:
E00, 30, 31, 33, 35, 40, 41, 42, 43, 44, 51, 53, 95, 97, and 99
C00, 0, 1, 2, and 3
YG01, 03, and 05
B00 and 01
R11, 12, 20, 22, 81, and 83
YR20 and 21
Y00, 11, 21, 23, 32, 35, and 38


.jpg)


