Monday, October 27, 2025

Trick or Treat featuring Art Impressions

 Hello AI Fans!! 

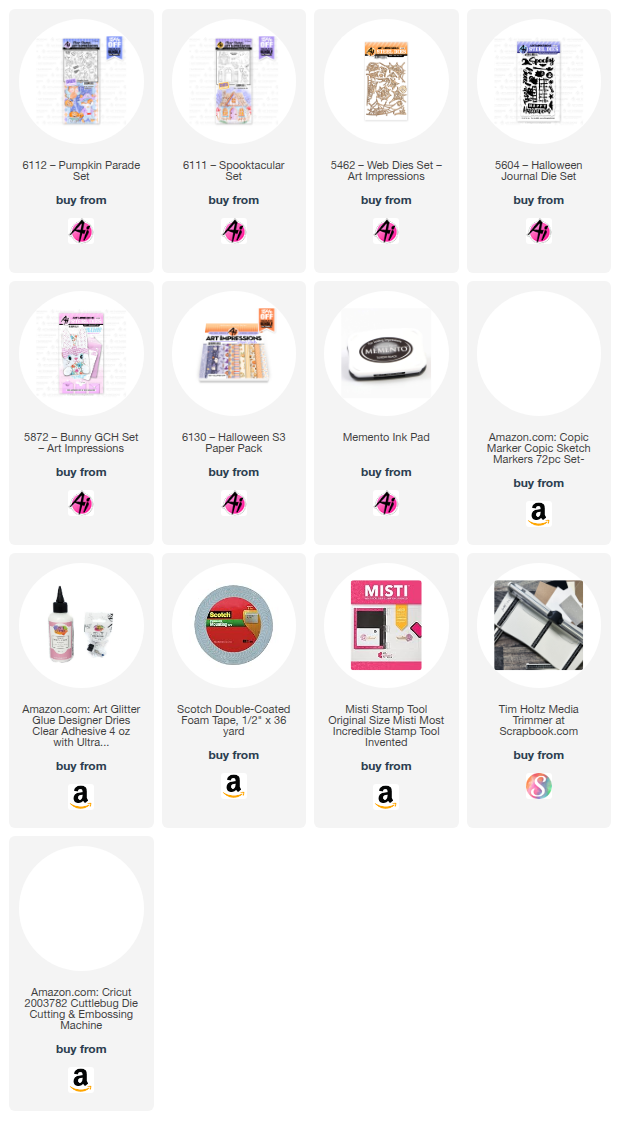
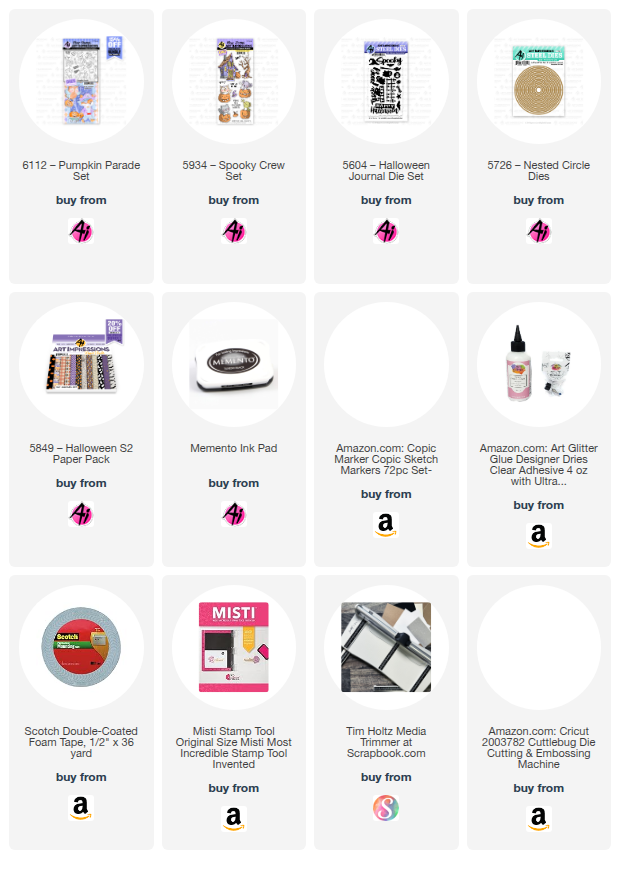
BOO!! Did I scare you? LOL! Halloween is such a fun time of year! I watch spooky tv shows all month long! I've got a fun card to show you today that features the new #6112 Pumpkin Parade and a couple older sets as well. That cute house is from #5934 Spooky Crew Set and the fun ghosts and bat are from #5604 Halloween Journal Die Set. I stamped the images onto a Copic friendly cardstock and then colored them up. I truly do love having the dies to cut the pieces out so it makes it so easy to create a scene like this! The fence in front of the house is also from the Halloween Journal Die Set. For the sidewalk, I just took a scrap piece of gray cardstock and drew in some lines. SUPER easy and grounds our little Trick or Treating fox as he makes his way down the street. For the moon, I simple cut out a piece of cardstock using #5726 Nested Circle Dies. 


So that's it for me today! Thanks so much for stopping by for a visit and I hope to see you again soon! Until next time - stay crafty!!


Monday, October 20, 2025

A Halloween tag featuring Art Impressions

 Hello AI Fans!

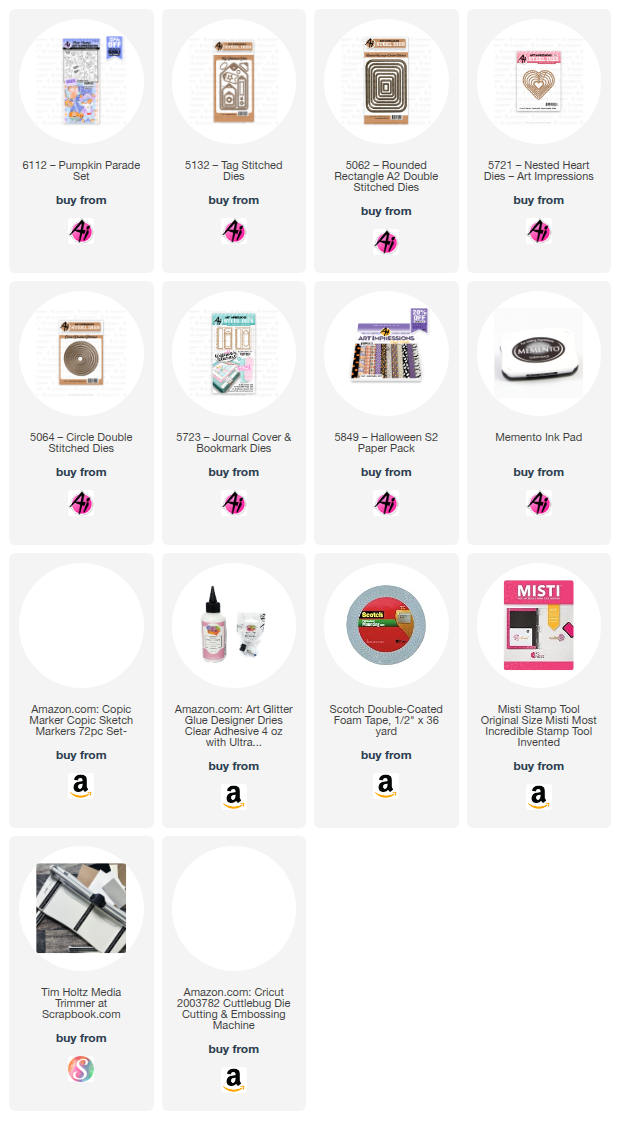
I just love the Halloween season! It's just so fun! I am always sad to see the wonderful days of summer leave, but Halloween sure helps with the transition! I've always loved spooky ghost stories and the idea of ghosts and such! I've got a cute little "too cute to spook" tag to show you today. I just love the new Halloween sets from Art Impressions! All of the critters are so adorable! Today I chose to use #6112 Pumpkin Parade Set and that adorable ghost kitty!! I started out by grabbing #5132 Tag Stitched Dies and cut out my base, then #5062 Rounded Rectangle A2 Die Set to make couple of mats. I cut a second tag out using #5849 Halloween S2 PP, and then trimmed off the top using one of the dies from #5723 Journal Cover and Bookmark Die Set to add to the top of the gray base tag. I stamped the kitty and candy onto Copic friendly cardstock and colored them with Copic markers. When done with that, I used the included dies from the set to cut them out. I LOVE having matching dies to stamp sets!! It's really nice not to have to fussy cut the images out! I added a heart that was die cut with #5721 Nested Heart Dies and stamped the sentiment onto a circle die cut using #5064 Double Stitched Circle Dies. 


So that's it for me today! Thanks so much for stopping by for a visit and until next time - stay crafty!!


Monday, October 13, 2025

Frankenstein Puppet treat box featuring Art Impressions

 Hello AI Fans!

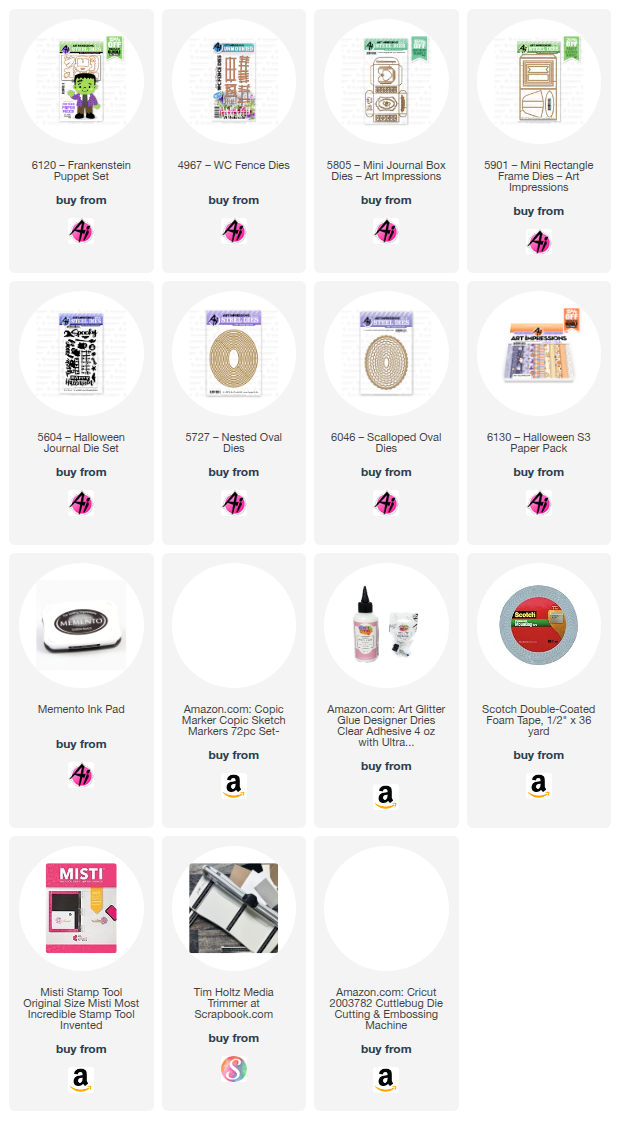
The current challenge going on right now is "Keep it Contained". That includes a LOT of options for you, so I sure hope you join along! I created a simple little box by using 5805 Mini Journal Box Dies. I love making little treat boxes for the grandkids! I couldn't help but use the amazing new 6120 Frankenstein Puppet Set! Oh my word!!! I am going to have so much fun making a bunch of these! Isn't he the cutest? I didn't want a card, I just wanted him to stand up and be on a wobble. So I grabbed the oval nested and scalloped dies, glued them together and then just cut off a bit of the bottom so it was flat. Then to make it stand, I grabbed the easel die from 5901 Mini Rectangle Frame Dies. I added a few little touches like the fence and ghosts to enhance it. It's so much fun to see him wiggle around when you touch him! You can die cut his face and hands out of colored cardstock if you want. But personally I like to cut it out of my Copic friendly cardstock and color him with markers. I just like the way it looks. 


This shows the easel stand and wobble. 


So that's it for me today! I hope I was able to inspire you to grab your paper and glue and join in our "Keep it Contained" challenge for a chance to win a free set of your choice!! Thanks so much for stopping by for a visit and until next time - stay crafty!!

Copic markers used:
YG01, 03, and 05
C1, 2, and 3
I added a little pink chalk to his cheeks


Monday, September 29, 2025

Dance It Out featuring Art Impressions

 Hello AI Fans! 

I know I've said it a gazillion times, but I adore Art Impressions characters! They just ooze fun and personality, don't they??!! I simply can't get enough of them. So, with that being said, I've got another card for you today that features #5278 Dance It Out Set. I stamped him onto a Copic friendly cardstock and then colored him in the colors listed below. My hubby loves to dance, so this would be perfect for him!!! (plus he actually IS an old fart!! LOL!) 


So that's it for me today! Thanks so much for stopping by for a visit and until next time - stay crafty!!

Copics used:
E000, 00, 11, 35, 70, 71, 74, and 77
YR61, 65, and 68
R02 and 20
T1
C2
W5


Monday, September 22, 2025

Ahoy there featuring Art Impressions Gull-friends set

 Hello AI Fans!

I've got another quick and simple card to show you today that goes along with our current challenge "Wild About You". I used another one of the adorable gulls from #5399 Gull-friends Set and a piece of paper from #6098 Cruse PP. I don't know...I guess it might be possible to make a quicker card. But it would be hard to beat this, that's for sure! I stamped the gull onto some Copic friendly paper and then colored it with the markers I've listed below. Popped it up onto the beach scene paper and called her done after adding a sentiment! You still have a couple of days to enter our challenge! Hope to see your creations! 


Thanks so much for stopping by for a visit and until next time - stay crafty!!


Copic markers used
E95, 97, and 99

B21, 23, 24, and 26

YG01, 03, 05, and 07

T1 and 2

Y35 and 38


Monday, September 8, 2025

A Retirement card featuring Art Impressions Pack Your Bags

 Hello AI Fans!

I've got a retirement card to show you today that features the fun stamp set #4932 Pack Your Bags. I stamped this overloaded retiree with a Memento Tuxedo Black Ink onto some Copic friendly paper and then colored him up using the markers I listed below. I then cut him out using #5724 Nested Rectangle Die Set. Then sentiment came from #5187 Happy Trails Set.


I love the paper in 6072 Father's Day PP so much! The colors and designs of this paper are truly gorgeous! I used two different pieces for this card. The backpack print as the main piece, and then I used the second piece to cut out a scalloped mat behind the main image, just to add a little extra touch. 


So that's it for me today! Thanks so much for stopping by for a visit today and I hope I was able to inspire you to create! Don't forget to grab your paper and glue and join in our current challenge! You still have a couple of days! Until next time - stay crafty!!

Copic markers used:
E000, 00, 11, 34, 70, 71, and 74
G40 and 43
R20, 21, and 22
BG70, 72, 75, and 90
T1, 2, and 3
B00


Monday, September 1, 2025

Company is here! featuring Art Impressions Gardener Gail

 Hello AI Fans!

Our new Bi-weekly challenge "When one door closes" is going strong and if you haven't looked at all the DT and GDT creations, I really urge you to do so! They always blow me away with their talent!! We were even blessed to have Debbie Hedges join us as a Guest Designer this month!!  So please do yourself a favor and scroll through the blog to look at all the amazing works of art!

 So.... I'm going to make a big confession here. I have had this screen door die for probably almost 15 years and I have NEVER used it. When I saw the theme of this challenge I decided it was finally time. I grabbed 6076 Gardener Gail and went to work. I used quite a few sets from Art Impressions to create this, and they're all linked below.  I wanted the door to actually open on the front of the card, so I found some miniature hinges on Amazon and the tiny brads from Art Impressions are the PERFECT size for them! Don't you think? I used a larger brad for the inside and outside doorknob.  I simply spread the tines all the way out and glued them in place. The screen in the door actually came with the die and is sandwiched between several layers of the die cuts. The die was made by Cheery Lynn Designs if you want to try and find one. I doubt it is still manufactured after all these years, but I would be surprised if there isn't some kind of substitute die you could use. 


 I wanted it to look like the inside of the house of the front and to be able to see Gail through the screen door. I took just a strip of the paper from 6072 Father's Day PP to use as the floor.  I just needed a small strip, so I actually just cut it out of the back cover of the paper. That way I didn't have to cut into a full sheet for a small strip! Don't overlook using both the front and back cover pieces in the paper packs! I then added a small strip of white cardstock to look like the baseboard. 


I used the fishtail banner from 5809 Decorative Journal Page 2 to cut out the sentiment and pop it up on the top of the door.  I had to make sure to watch where I glued it so the door would still open. Here's a picture with the door open.  


And finally the inside of the card when it's fully opened. 


I used plants from 5490 Front Porch Farm House to place next to the door. For behind Gail, I cut a couple fences using 5807 Journal Fence Dies and pieced them together. The branch came from 5346 Birdhouse Cubbies Set and the bee and birdhouse from 5925 Honey Bee Set. I tied the birdhouse to the branch with a piece of twine and just let it dangle freely. I thought that was just a fun touch. So that's it for me today! Thanks so much for stopping by for a visit and until next time - stay crafty!!

Copic markers used:
E000, 00, 04, 11, 33, 35, 37, 51, 53, 55, 95, 97, and 99
W0, 2, 3, 4, and 5
G40, 43, and 46
C1, 2, 3, 4, and 5
YG00, 13, 17, and 67
Y15, 17, 18, 32, 35, and 38
R02, 12, 81, 83, and 85
B00, 91, 93, and 95


Monday, August 25, 2025

My first fall call this year featuring Art Impressions

 Hello AI Fans!

I know we are still into full blown summer, but the season is definitely starting to change. The leaves on the trees have already started to change and September is right around the corner! So I've created my first fall card of the season. I started out by stamping the adorable scarecrow from #5594 Harvest Scarecrow set onto a Copic friendly cardstock. After coloring him up, I cut him out using #6046 Scalloped Oval Dies and then matted that with one of the larger dies in brown. I wanted to see him from the front, but I wanted to place him on the inside of the card. So using #5770 Farm FB Set, I cut a hole through all three layers on the top of my card and then added the fence frame on both the front and then again on the inside. 


All of the pieces that are on the front of the card came from #5598 Harvest Set and #5592 Harvest Journal Die Set. The gorgeous paper is from #5973 Fall S2 PP. 


I also used one of those hay bales to prop up the scarecrow.


So that's it for me today! Thanks so much for stopping by for a visit and until next time - stay crafty!!


Copic markers used:
E13, 15, 17, 19, 21, 23, 31, 33, 35, 40, 42, 43, 47, 51, 53, 55, and 97
YR01, 02, 12, 14, 23, and 31
R12, 32, 35, and 37
YG61, 91, 93, and 97
C1, 2, and 3
Y32


Monday, August 18, 2025

Vacation Vibes featuring Art Impressions Cruisin' Carol

 Hello AI Fans!

I know I probably sound like a broken record, but oh my gosh...I can't believe August is more than half way through! To me it feels like summer has just begun but the kids are already back in school! Wow! My card I'm showing you today fits right in with the current challenge "Sports and Leisure". I'm featuring #6075 Cruisin' Carol.  I stamped her with Memento Tuxedo black ink onto a Copic friendly cardstock and then colored her with the markers listed below. Do you love staycations as much as I do? Carol is definitely on a staycation in her own backyard in this card! That's me...give me a cocktail and my awesome patio, and I'm in heaven just relaxing in my chair! This was so easy to make! I just inked a cloudy summer sky using a stencil and then added a strip of die cut grass. Unfortunately, my fence kind of blends into the sky, I should have used a different color of cardstock instead of white. 


So that's it for me today! Thanks so much for stopping by for a visit and until next time - stay crafty!!

Copic markers used:
E000, 00, 04, 11, 33, 50, and 53
R01, 02, 35, 81, 83, and 85
B000 and 00
BG11, 13, 15, 45, and 49
YG13 and 17


Thursday, August 14, 2025

Interactive Pickleball game featuring Pickleball Patty from Art Impressions

 Hello AI Fans!

I'm super excited to be able to introduce you to our brand new Challenge #410 - Sports and Leisure!! The recently released AI People are all perfect for this challenge!! And actually so are a LOT of other Art Impressions Stamp Sets. But I chose to use the beautiful #6074 Pickleball Patty along with her twin sister Peggy!! LOL! I created Peggy by stamping a reverse image of Patty. Before stamping, I removed the ink from the ball. After stamping, I just used one of my Copic multiliner pens to finish the lines of the paddle. I'll tell you a little tidbit about Patty and Peggy, they actually believe that Serena and Venus doesn't hold a candle to their own sportsmanship and talent! There's nothing better than a confident and kind woman!! 😁 I'll be very honest, this one took me a few (cough, cough)  hours of my brain power and gluing talent. There were quite a few "rip it off and start this one again" moments. But I must admit that I love how it turned out.  I knew the type of card I wanted to make, but wasn't quite sure how I was going to go about getting it. So that's a big reason for all the trial and error. The first thing I knew I wanted to do was make a center stairstep card. If you would like to know the dimensions of the cuts and folds, just ask. I'll be happy to supply them. 💛 Please just message me an email for a reply.  

I'll start you out with a picture of the finished card, and then I will break down the process for you. There is a pull tab that will pull Peggy (the one on the far left in the yellow cap) across the front of the card so it looks like (with a little imagination that is) that she is running up to the net in defense. At least that was my goal. LOL! 


In the image below, you can see the center stairstep card after I'd added some decorative paper and the net across the center opening. To make the net, I simply ordered some netting material from Amazon and then cut a strip about the width I was looking to make the net. I then cut two strips of paper 1/2" wide and 6" long and scored it down the center at 1/4". I simply folded over at the score and added a healthy amount of Art Glitter Glue, pressed the netting up into it keeping it fairly straight, and then put a heavy weight on it until it dried. I used a heavy weight cardstock for it as I wanted it to be nice and sturdy.  Once that  side is fully dried, do the exact same to the bottom of the net. The slide channel that is cut at the bottom of the card front is the part of the mechanism that will allow Peggy to run across the front of the card. It is hidden by the green grass panel that is popped up in order to give the mechanism the room to work. 


Peggy is attached to the pull tab by using a strong piece of acetate. 


Patty is getting ready to slam one over to Peggy! LOL! 


Peggy is sensing what Patty is about to do, so she's ready to move over to the other side of the court to be ready!  I added a tree and fence die cut to both sides of the stairstep card. 


And there she goes!! 


Now I did find that with all the weight that was added to this card, it did not want to stand up straight. So I came up with an easy fix for that.  I decided about how far I wanted the card to spread out and measured the distance. I figured I wanted a two inch spread about half way down the card. So I cut two pieces of heavy weight cardstock four inches long. I scored it at 1", 2" and 3". So fold it as mountain, valley, and mountain. Burnish your folds, then glue them inside the card where you want them. These pieces will fold flat with the rest of the card, but it also keeps the card from splatting flat on the table. 


So that's it for me today! Thanks so much for stopping by for a visit and until next time - stay crafty!!


Copic markers used:
E000, 00, 04, 11, 17, 33, 97, and 99
BV000, 01, 02, and 04
RV32 and 34
Y26, 32, 35, and 38
G24
T1, 2, 4, and 6
R02 and 20